Making online payments smooth and secure is crucial for any business website. Wix, a popular website creation platform, offers a user-friendly experience for building your online presence. But to truly unlock its e-commerce potential, you need a reliable payment gateway. This is where Olympus comes in, providing a seamless integration process for accepting payments on your Wix store.
This guide will walk you through the steps of adding a payment gateway to your Wix website using Olympus. But before we dive in, let’s understand why choosing the right payment gateway is vital.
Why is a Payment Gateway Important for Your Wix Website?
A payment gateway acts as a secure bridge between your website and your chosen payment processor. It encrypts customer information and facilitates the authorization and transfer of funds during online transactions. Here’s how a payment gateway empowers your Wix store:
Increased Sales: Offering a variety of payment options like credit cards, debit cards, net banking, and wallets makes your website more accessible to customers, leading to increased sales.
Improved Customer Experience: A smooth and secure checkout process fosters trust and encourages repeat business.
Reduced Fraud: Secure payment gateways minimize the risk of fraudulent transactions, protecting both your business and your customers.
Simplified Management: Manage all your transactions through a single platform, streamlining your financial operations.
Choosing the Right Payment Gateway for Your Wix Store
With a multitude of payment gateways available, selecting the right one for your business is essential. Here are some key factors to consider:
Supported Countries and Currencies: Ensure the gateway operates in the regions you serve and accepts the currencies your customers use
Transaction Fees: Compare processing fees, chargeback fees, and other associated costs to find a cost-effective solution
Payment Methods Offered: Provide your customers with a variety of payment options like credit cards, debit cards, net banking, and popular wallets
Security Features: Choose a gateway that prioritizes security with features like PCI compliance and fraud prevention tools
Ease of Integration: Look for a payment gateway that offers a seamless integration process with Wix
Olympus: Your One-Stop Solution for Wix Payment Processing
Olympus offers a robust payment gateway solution tailored for businesses of all sizes. Here’s why Olympus is the perfect partner for your Wix store:
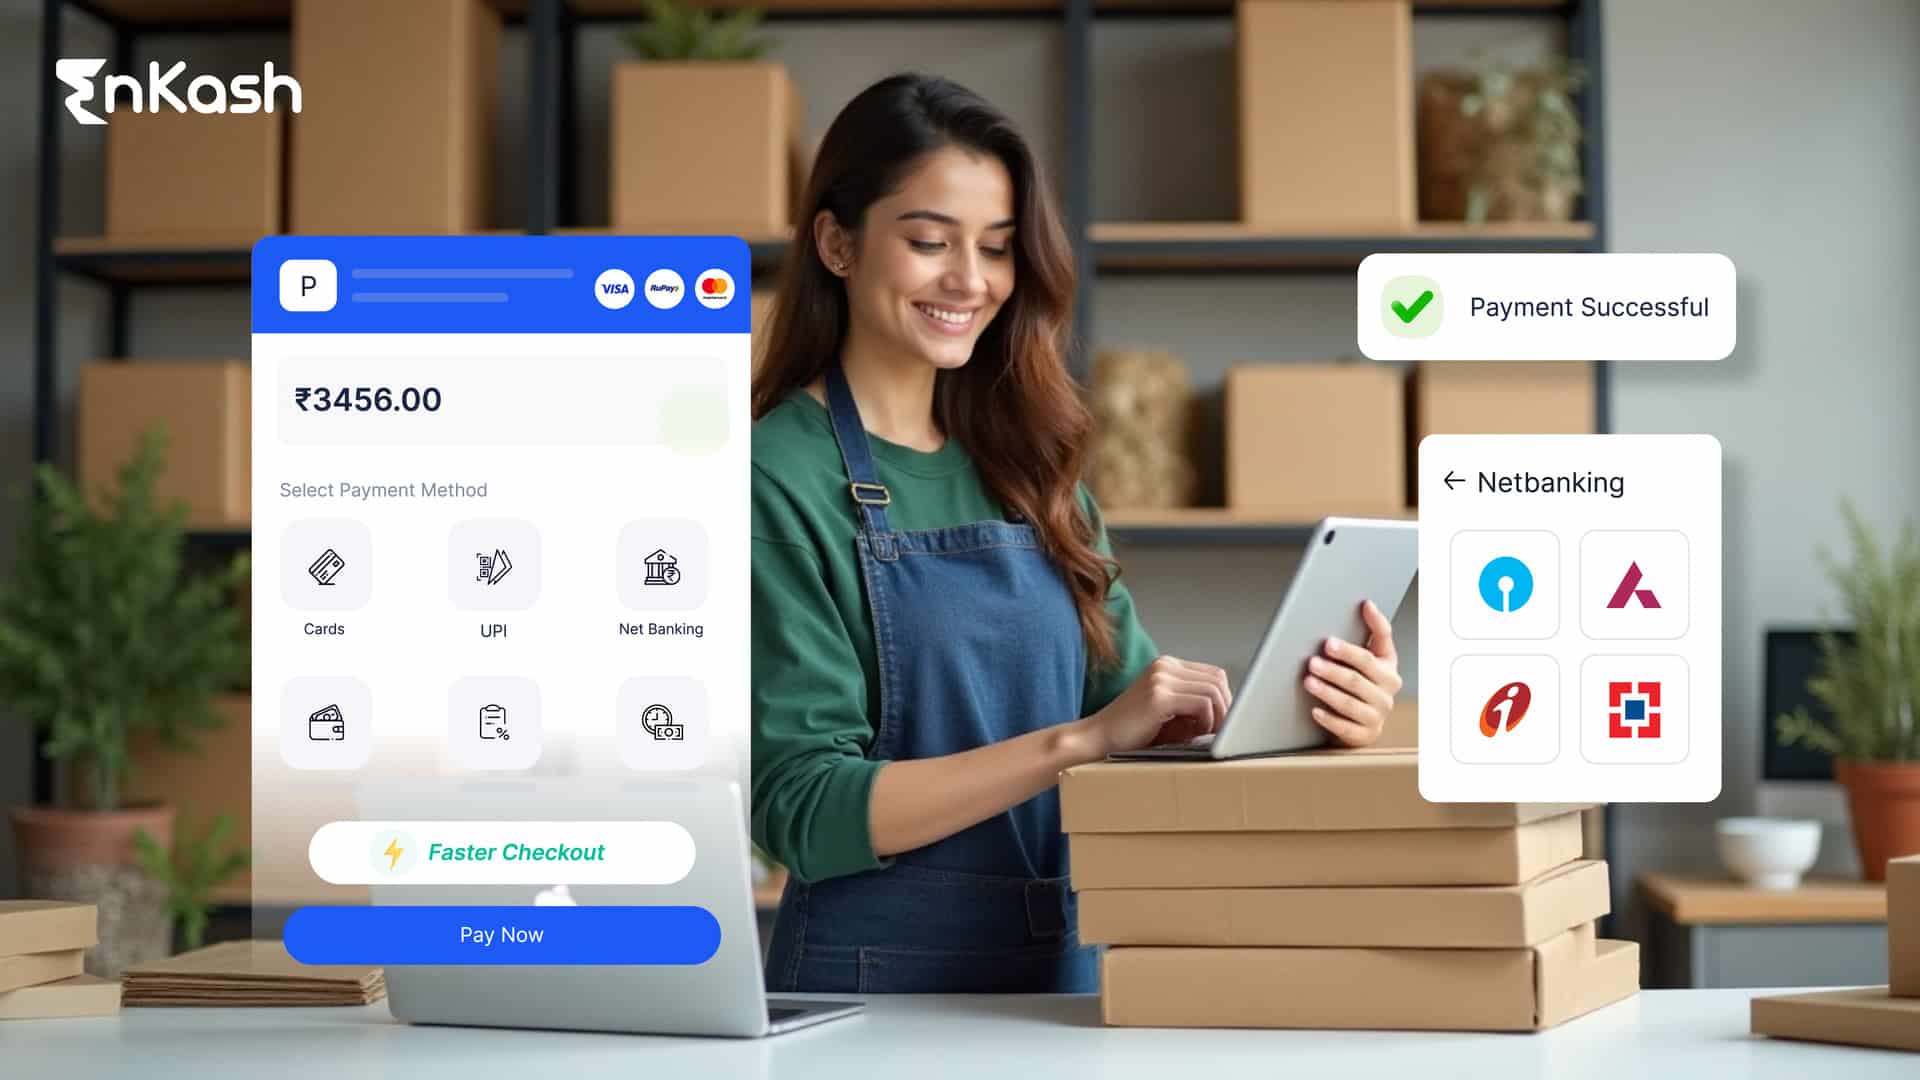
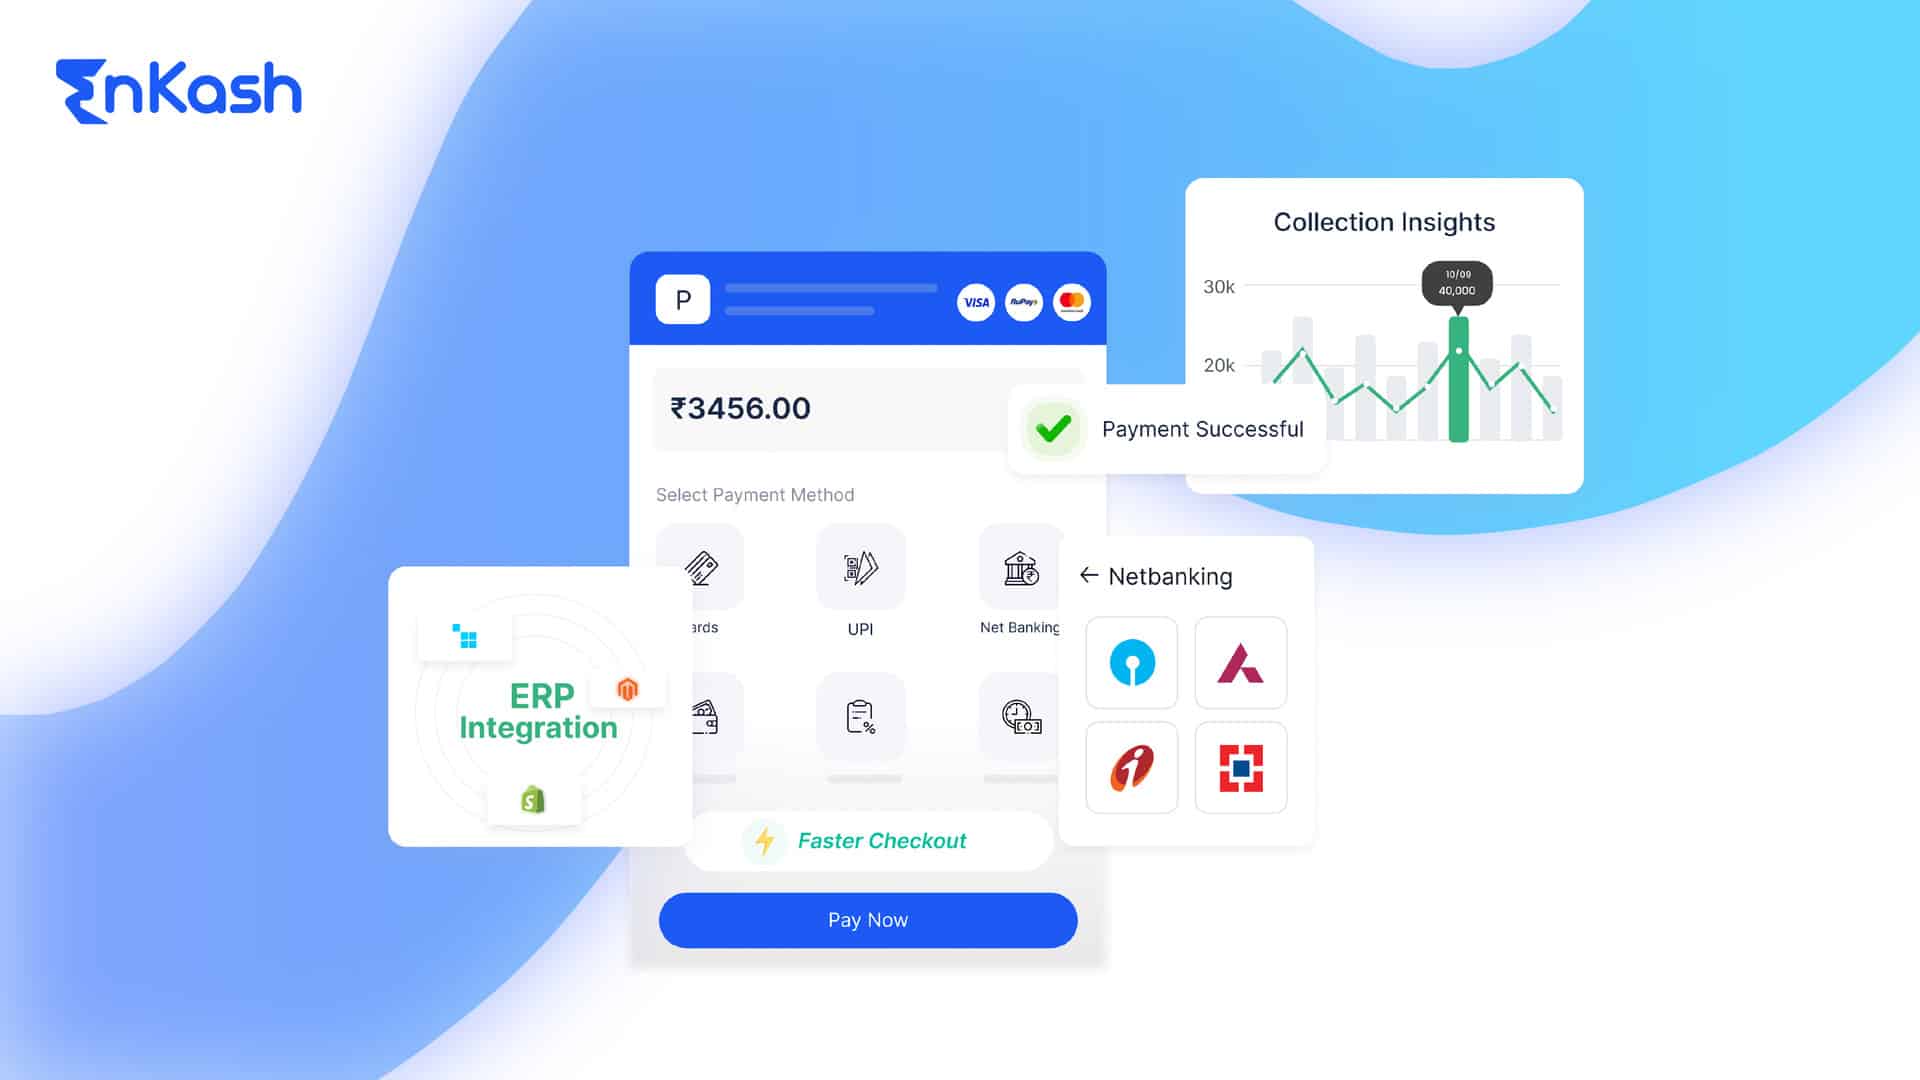
Wide Range of Payment Options: Supports a comprehensive suite of payment methods, including credit cards, debit cards, popular wallets, UPI, net banking, and more. This caters to diverse customer preferences and ensures a convenient payment experience.
Competitive Transaction Fees: Enjoy competitive transaction fees with transparent pricing, maximizing your profit margins.
Seamless Integration with Wix: Offers a hassle-free integration process with Wix, allowing you to start accepting payments in minutes.
Robust Security: EnKash prioritizes security with PCI DSS compliance and fraud prevention tools, safeguarding your business and your customers’ financial information.
Real-time Reporting and Analytics: Gain valuable insights into your sales performance with detailed transaction reports and analytics.
Before You Begin:
Before adding Olympus as your Wix payment gateway, ensure you have the following:
A Wix Website: You’ll need a Wix website with a business or higher plan to accept online payments.
EnKash Account: If you don’t have one already, sign up for a free EnKash account. The signup process is quick and straightforward.
Then generate the API keys from the EnKash dashboard and download or save them, you will need these API details further in the integration process.
Step-by-Step Guide to Adding a Payment Gateway on Wix:
Now, let’s dive into the practical steps of integrating a payment gateway on your Wix website. Follow these detailed instructions to ensure a smooth and hassle-free setup process:
Log In to Your Wix Account:
Start by logging in to your Wix account and accessing the website editor.
Navigate to the Editor:
Once logged in, select the website you want to add the payment gateway to and enter the editor mode.
Go to “Accept Payments”:
Click on the “Settings” option in the left-hand menu. Under the “eCommerce & Finance” section, select “Accept Payments.”
Choose Your Preferred Payment Gateway:
From the list of supported payment gateways, select the one you’ve chosen for your website. For example, if you’ve opted for Olympus, click on the Olympus option.
Connect Your Account:
Follow the on-screen instructions to connect your payment gateway account to your Wix website. This typically involves entering your API key and API secret key and lastly clicking on connect.
Configure Payment Settings:
Once connected, configure your payment settings as per your business requirements. This includes setting up accepted currencies, payment methods, and shipping options if applicable.
Test Your Payment Gateway:
Before making your payment gateway live, perform thorough testing to ensure everything is functioning correctly. Conduct test transactions using different payment methods to simulate real-world scenarios.
Publish Your Website:
Once you’re satisfied with the setup and testing, publish your Wix website to make the payment gateway live and start accepting payments from customers.
Conclusion:
Integrating a payment gateway on Wix is a pivotal step in establishing a successful online presence and facilitating secure transactions. By following this comprehensive guide and adopting best practices, you can seamlessly add a payment gateway to your Wix website, enhance user experience, and drive business growth through efficient online payment processing. Empower your business with the tools and technologies needed to thrive in the digital economy.


